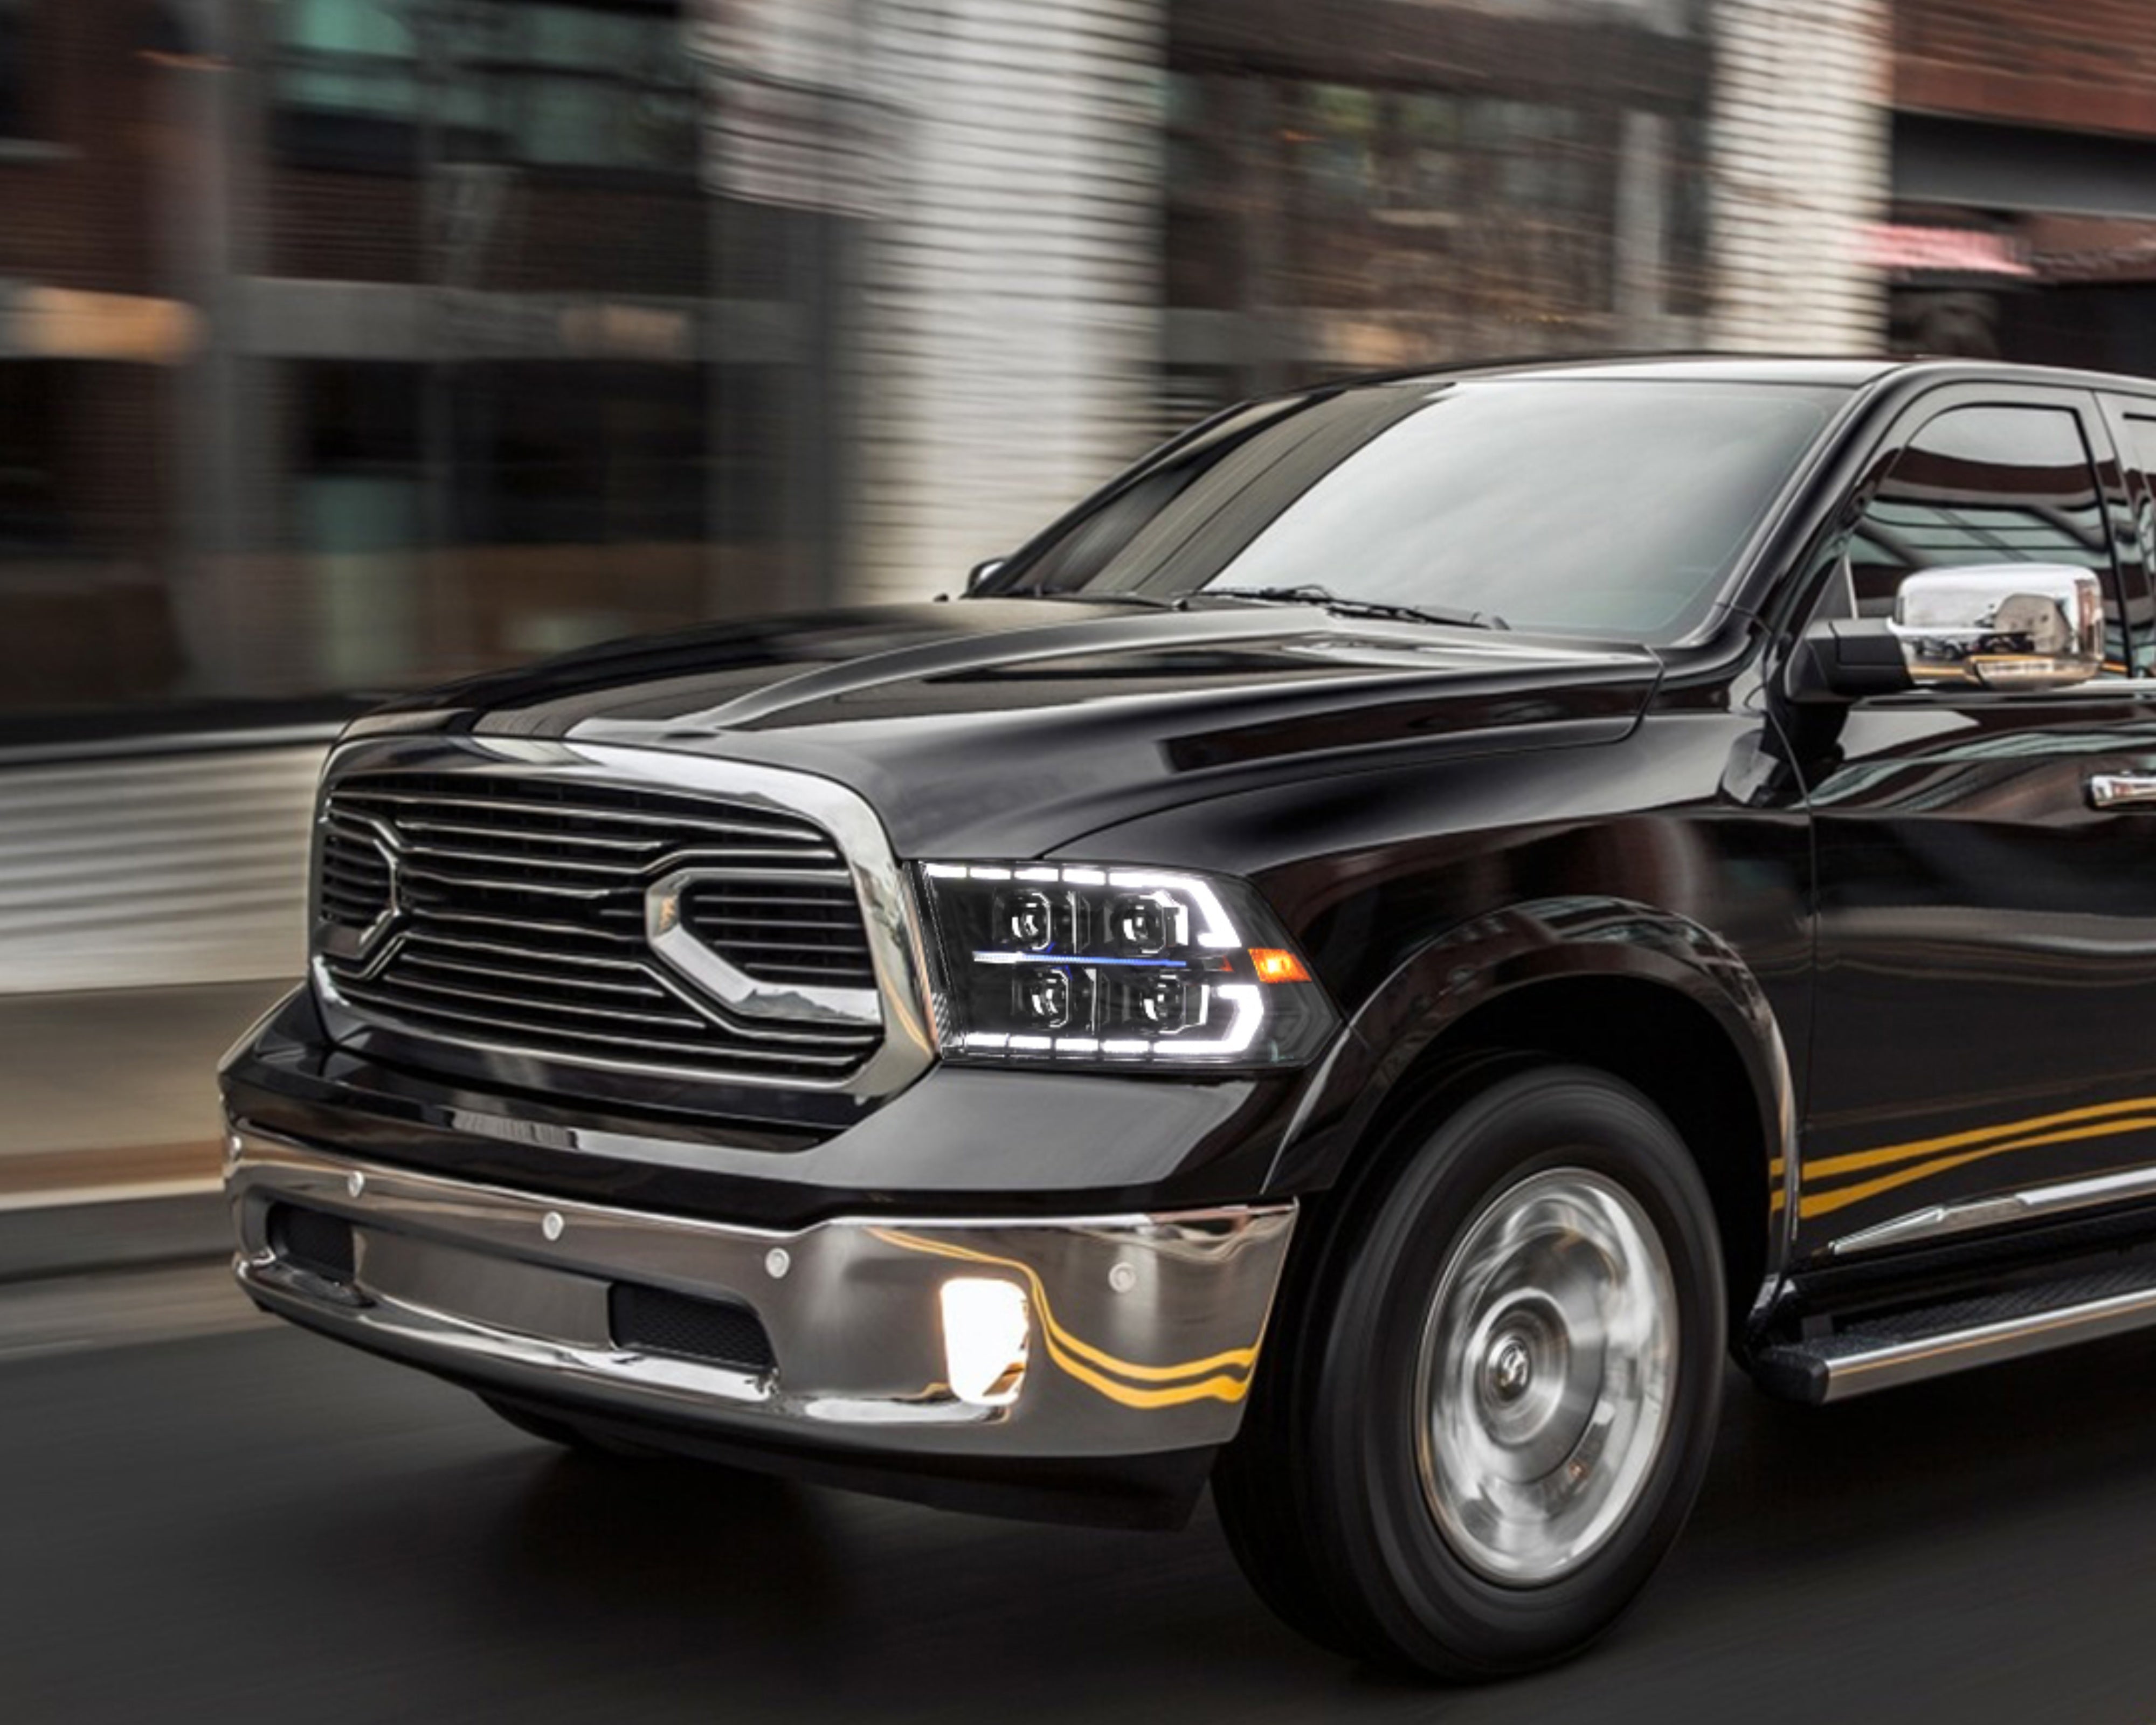
How to Install Aftermarket LED Headlights on RAM 1500 (Step-by-Step Guide)
Upgrading the headlights on your RAM 1500 is one of the best modifications you can make for both style and safety. Aftermarket LED headlights not only modernize the appearance of your truck but also dramatically improve night driving visibility.
In this guide, we’ll walk you through a step-by-step installation process for plug-and-play aftermarket LED headlights. Whether you're working on a 2019+ fifth-gen RAM or an older model, the general process is similar and straightforward.
Tools You'll Need
- Flathead screwdriver
- 10mm socket and ratchet
- Panel removal tool or trim tool
- Clean gloves
- Zip ties (optional for wire management)
Step-by-Step Installation Guide
Step 1: Open the Hood
Begin by parking the truck on a flat surface, turning off the engine, and opening the hood. Disconnect the negative battery terminal to prevent any electrical short during the install.
Step 2: Remove Front Grille
- Use the 10mm socket to remove the top four bolts securing the grille.
- Gently pull the grille forward to release the lower clips—use a trim tool if needed.
- Set the grille aside in a safe spot.
✅ Tip: Be gentle with plastic clips to avoid breakage.
Step 3: Unbolt the OEM Headlights
- Locate the two bolts securing each headlight (one on top, one on the side near the fender).
- Remove both bolts using your socket.
- Gently pull the headlight assembly forward.
- Disconnect the wiring harness from the back of the housing.
Step 4: Install the New LED Headlight Assembly
- Connect the wiring harness to the aftermarket LED headlight.
- Make sure all connections (low beam, high beam, DRL, turn signal) are securely plugged in.
- Slide the new assembly into the stock mounting position.
- Reinstall the two bolts you removed earlier.
⚠️ If your LED headlights come with an anti-flicker decoder or CANbus module, be sure to connect it according to the manufacturer’s instructions.
Step 5: Test Functionality
Before reassembling the grille:
- Reconnect the battery.
- Turn on the lights and test low beam, high beam, turn signals, and DRL.
- Check for error codes or flickering.
💡 If there's any issue, recheck your connections or consult the product manual.
Step 6: Reinstall the Grille
Once all lights are functioning correctly:
- Align the grille with the front bumper.
- Push it into place until you hear the clips click.
- Reinsert and tighten the four top bolts.
Step 7: Aim the Headlights (Important!)
Use the vertical adjuster screw on the back of the housing to ensure your headlights are aimed at the correct height. Misaligned lights can blind oncoming drivers or reduce road visibility.
📏 Park 25 feet from a wall and adjust until the cutoff line is just below headlight height.
Bonus: Clean Up and Wire Management
Use zip ties to secure any loose wiring and make sure nothing is touching hot engine components. Replace any trim pieces you removed.
Installation Difficulty: ★★☆☆☆
Estimated Time: 45–60 minutes per side
Skill Level: Beginner to Intermediate DIYer
Upgrade Your RAM 1500 the Right Way
At LESEM, our plug-and-play LED projector headlights for RAM 1500 are designed for a direct OEM replacement—no cutting or splicing needed. Featuring ultra-bright LEDs, sequential turn signals, and DRL strips, they’re a perfect mix of function and form.
👉 Shop RAM 1500 LED Headlights
Final Thoughts
Installing LED headlights on your RAM 1500 is a simple yet powerful upgrade that improves both your truck’s appearance and safety. With the right tools and this guide, you can complete the job in under two hours.
Have questions? Need help choosing the right lights for your RAM? We’re here to help.

Leave a comment
Your email address will not be published.